T-shirt design

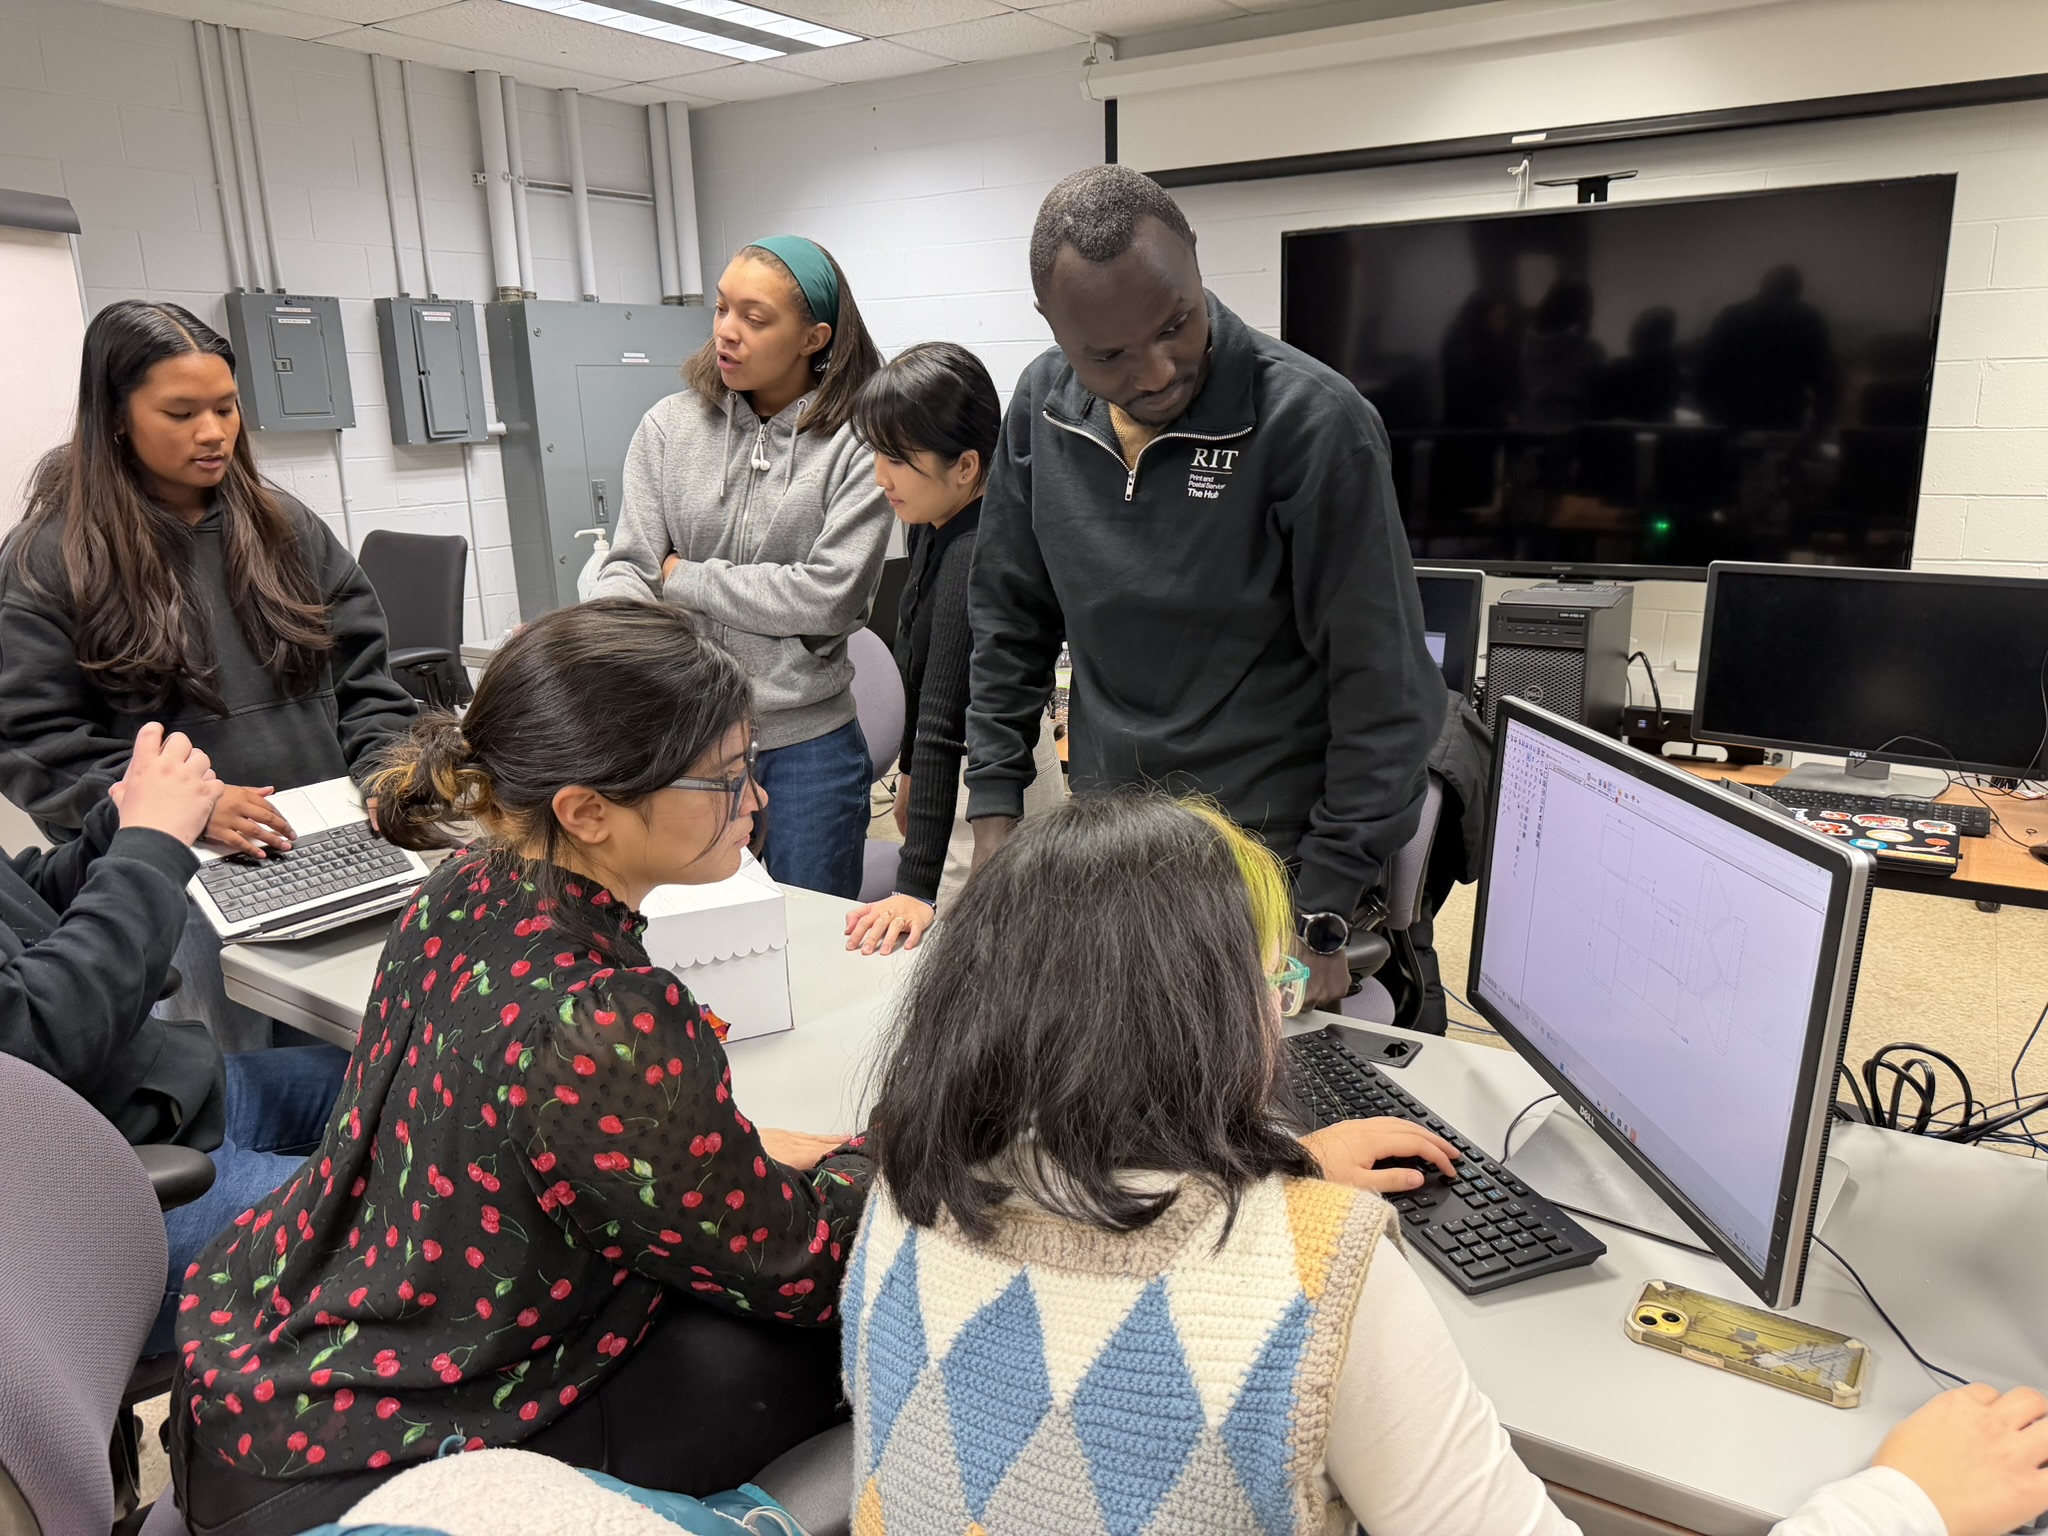
Each year, TAGA students create original t-shirt graphics that represent the chapter’s spirit and identity. The t-shirt serves as both a branding element for our conference presence and a celebration of our chapter’s creativity.

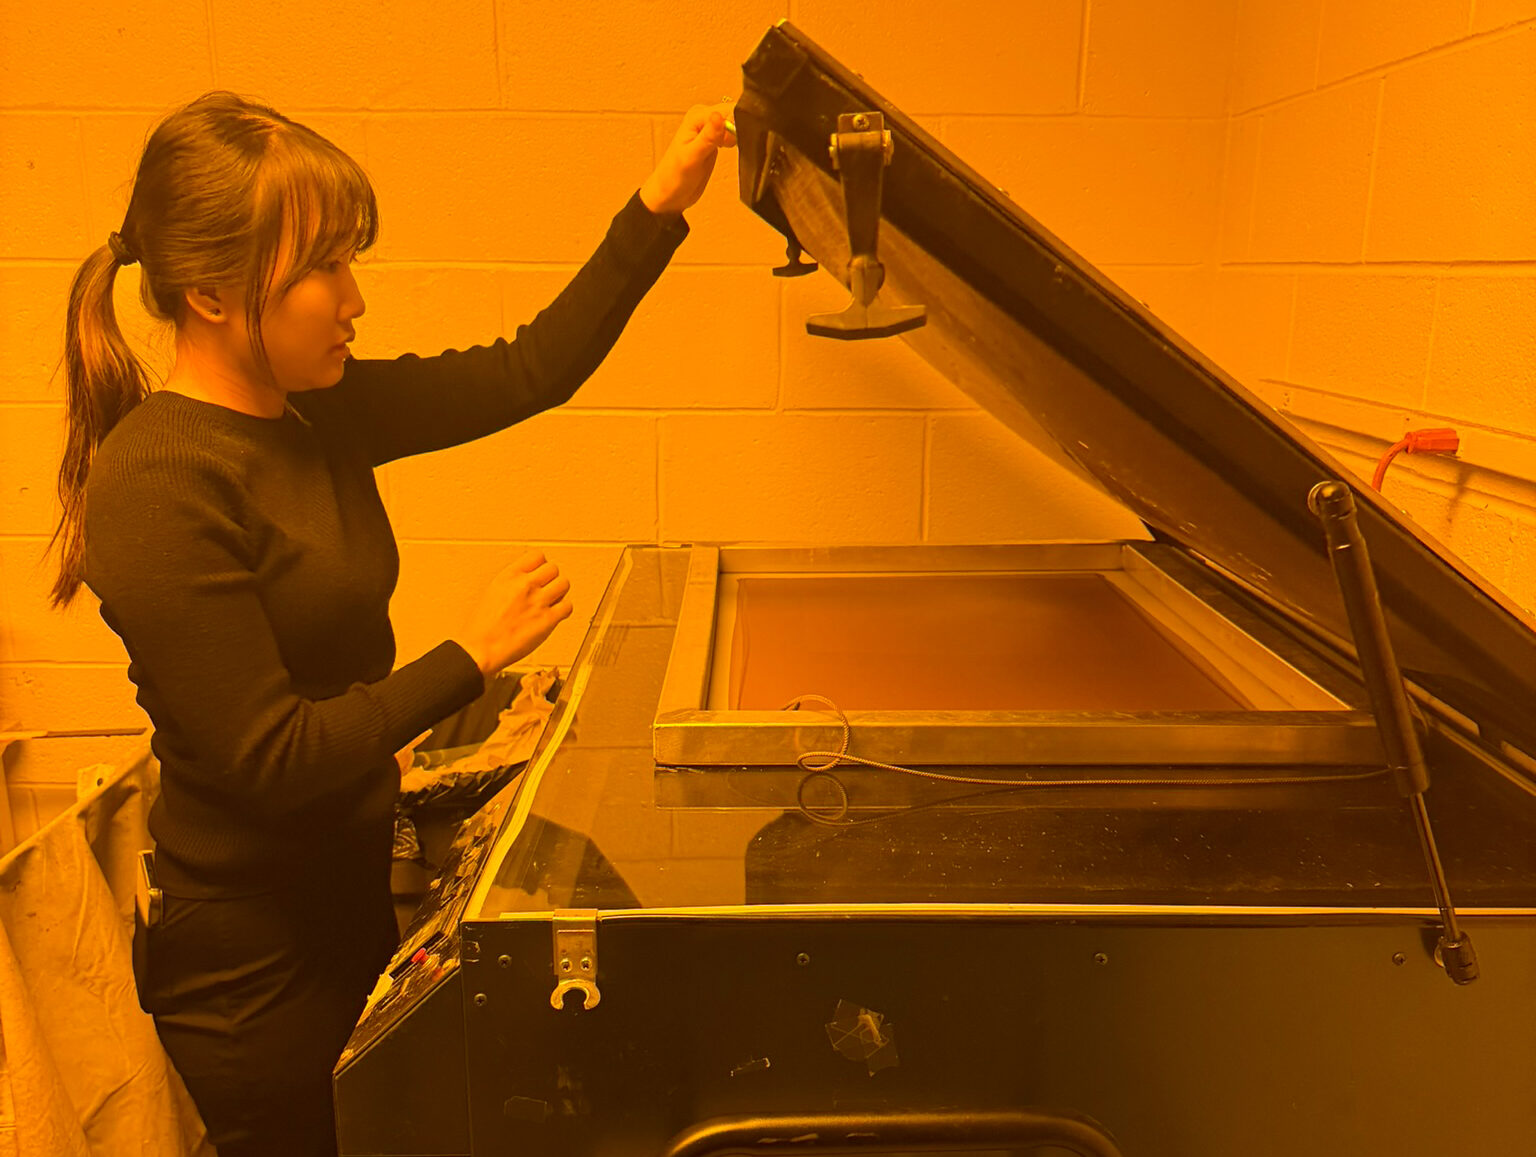
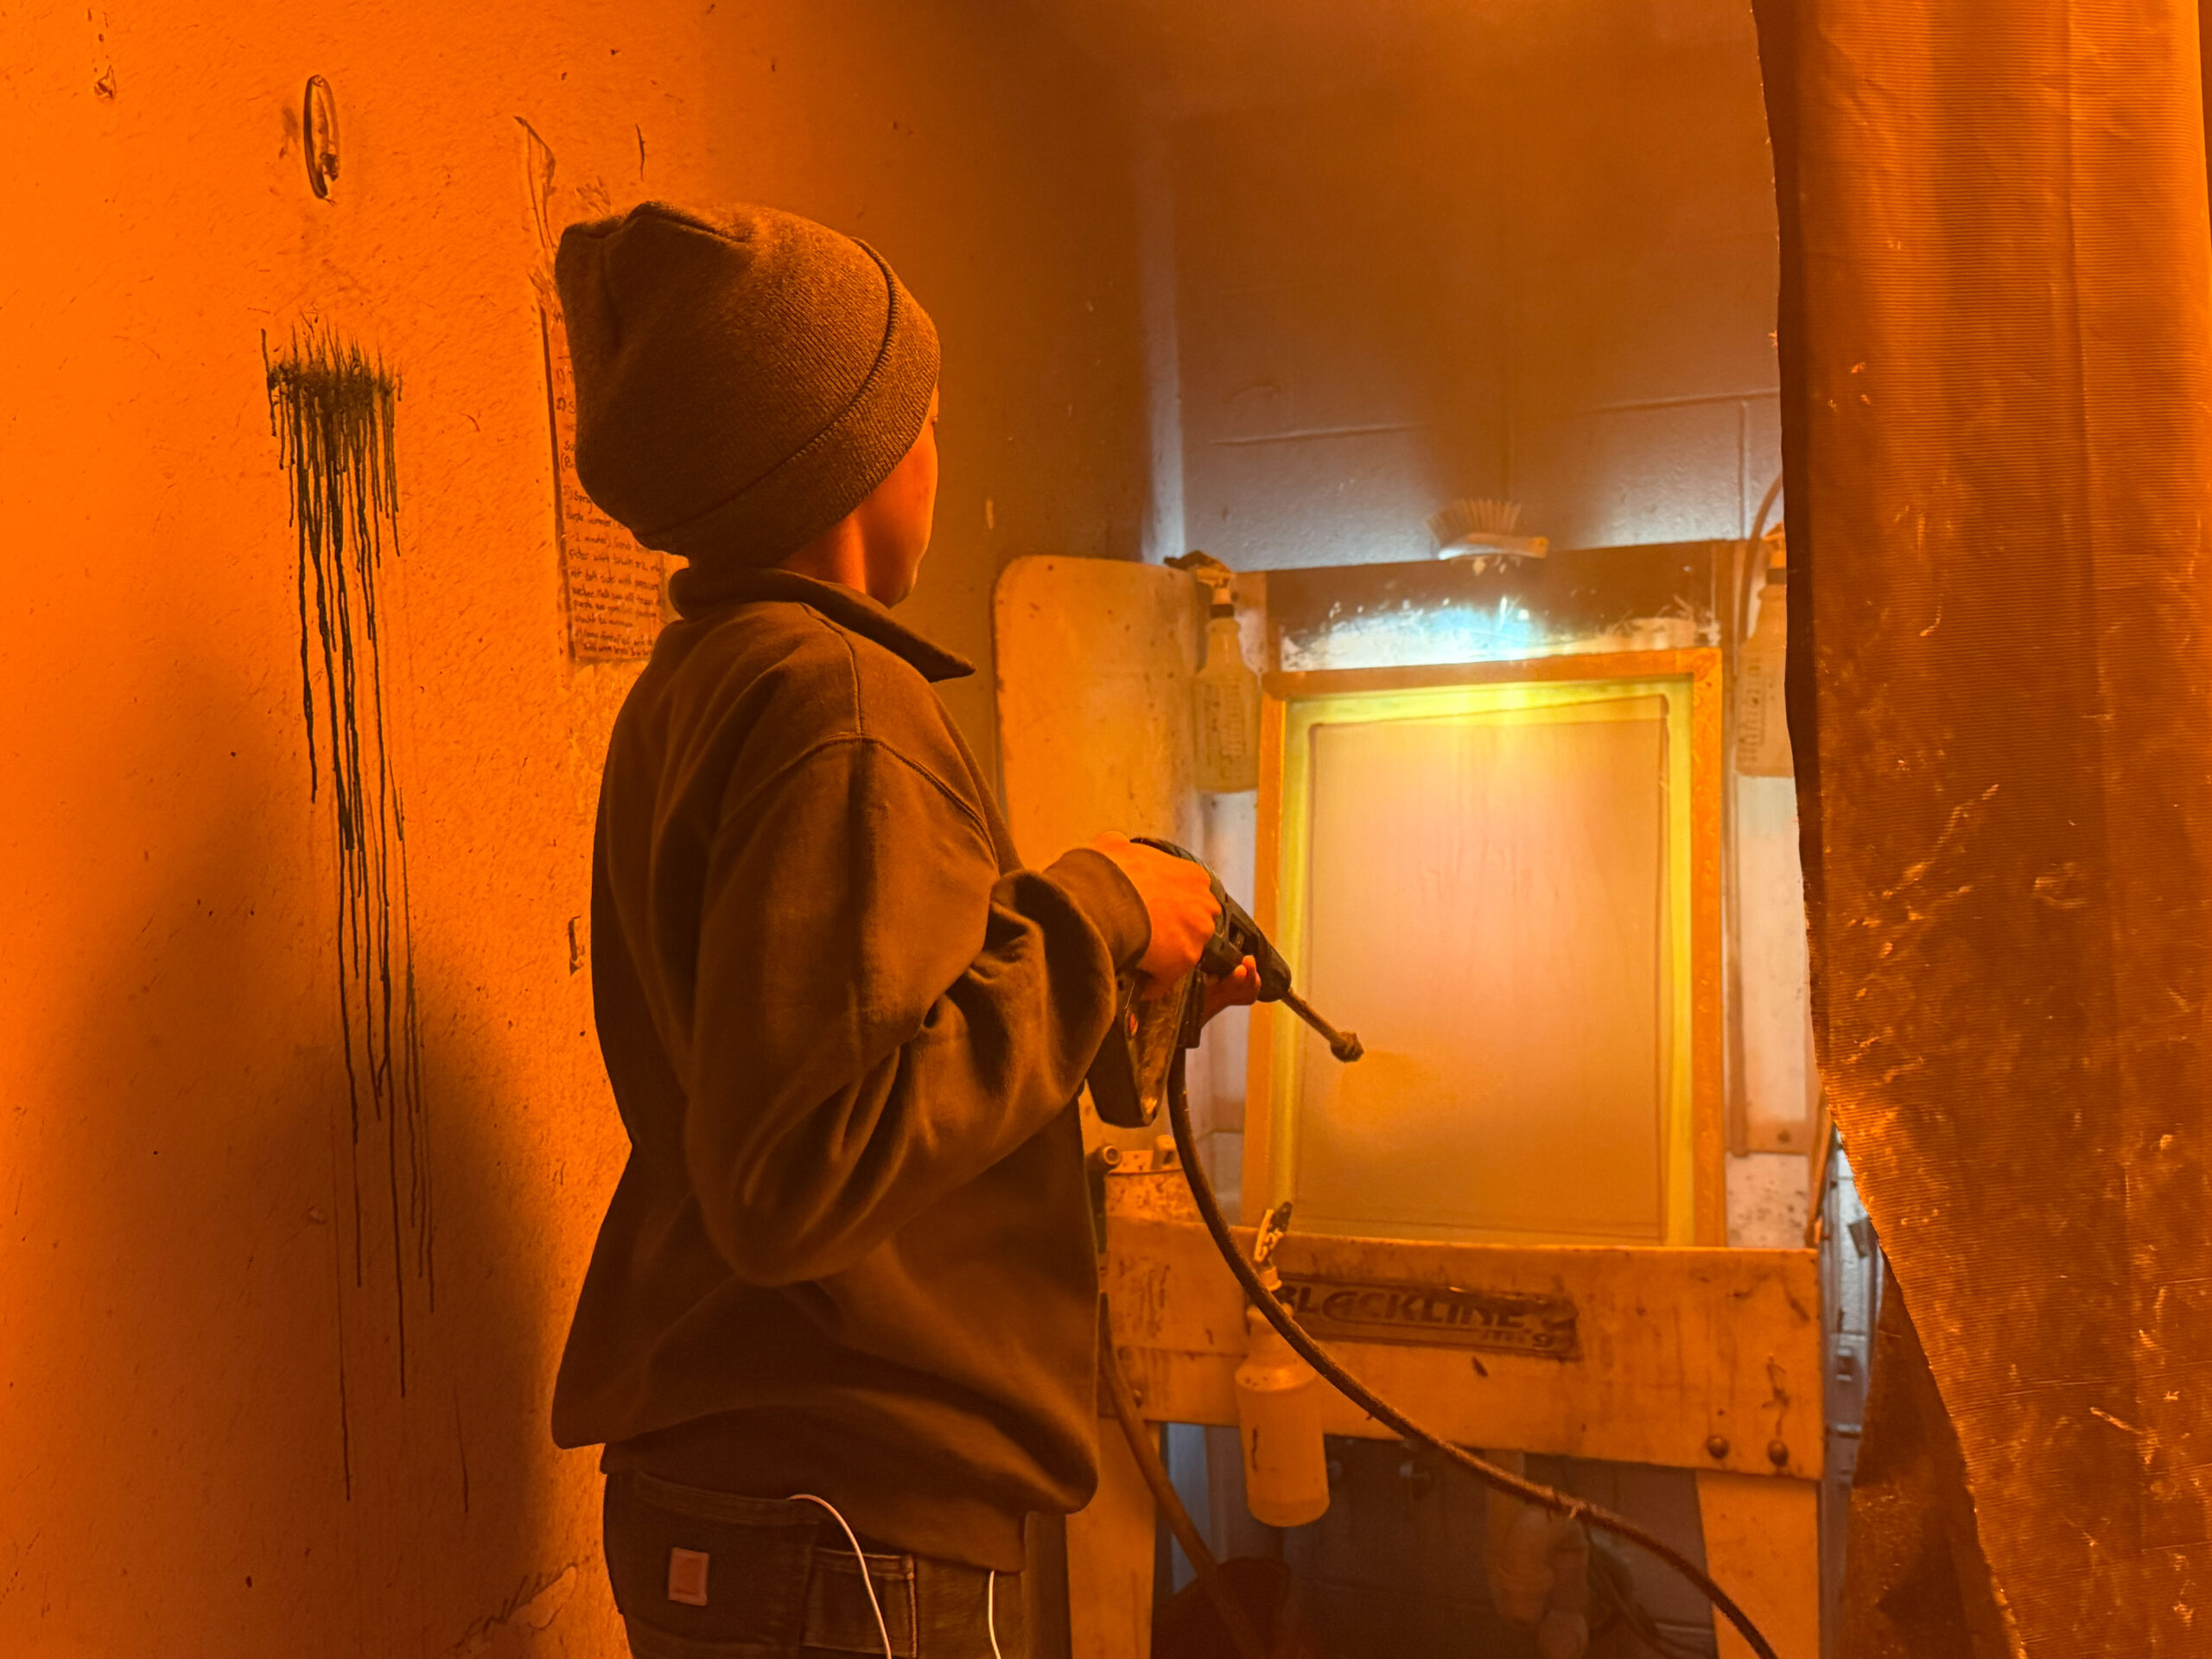
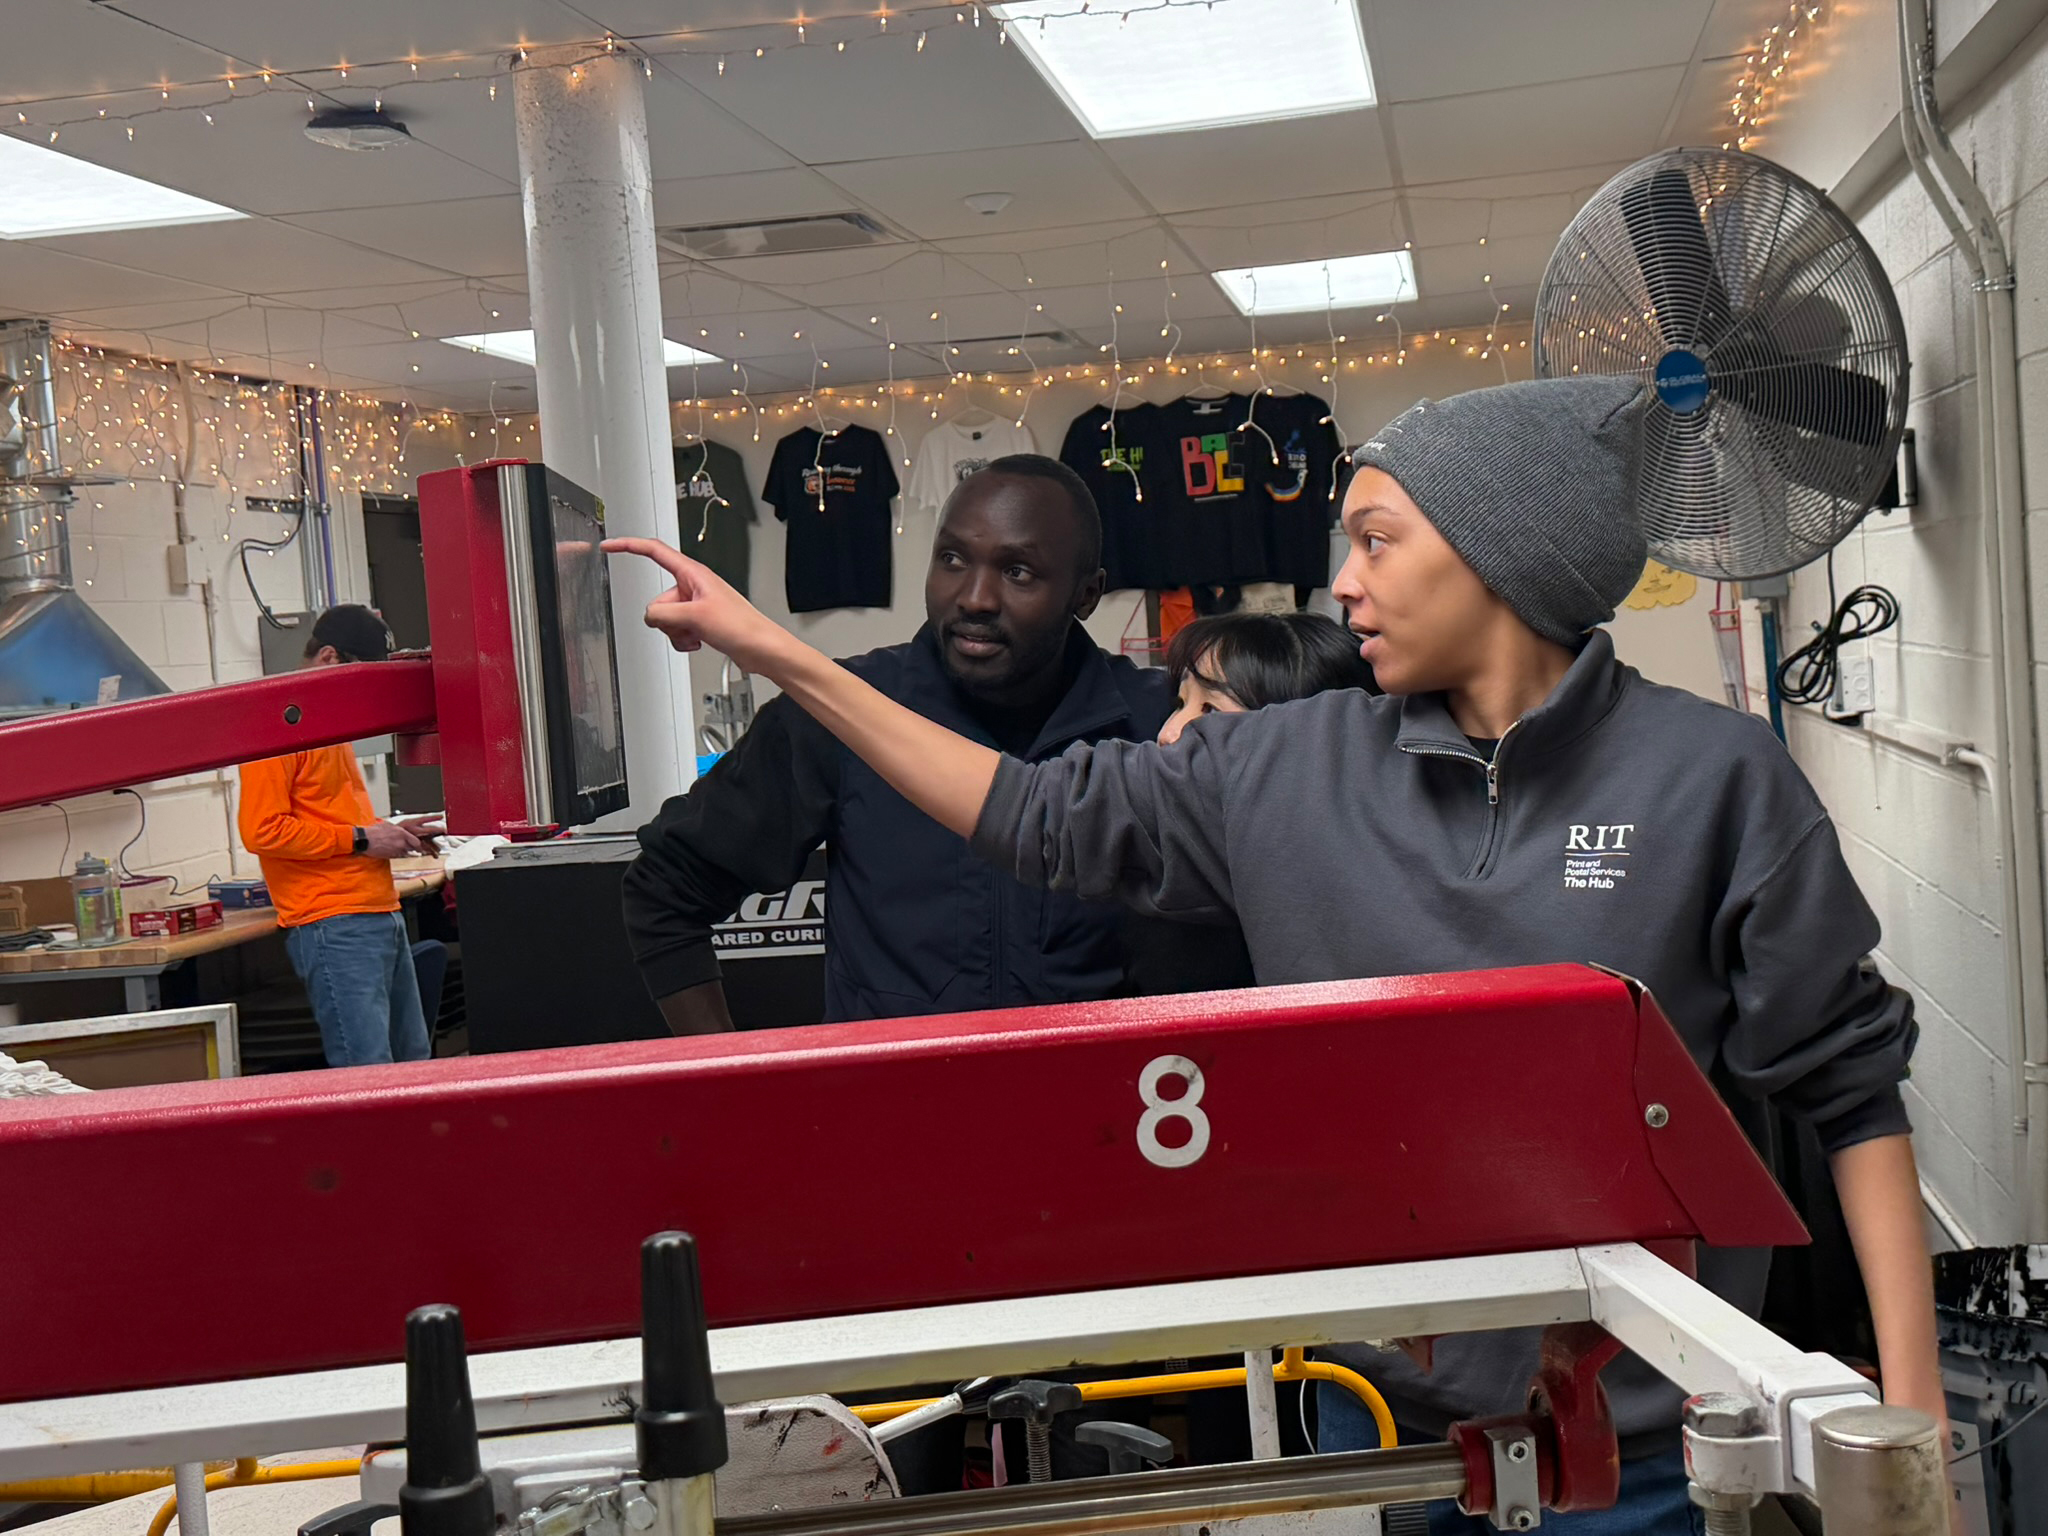
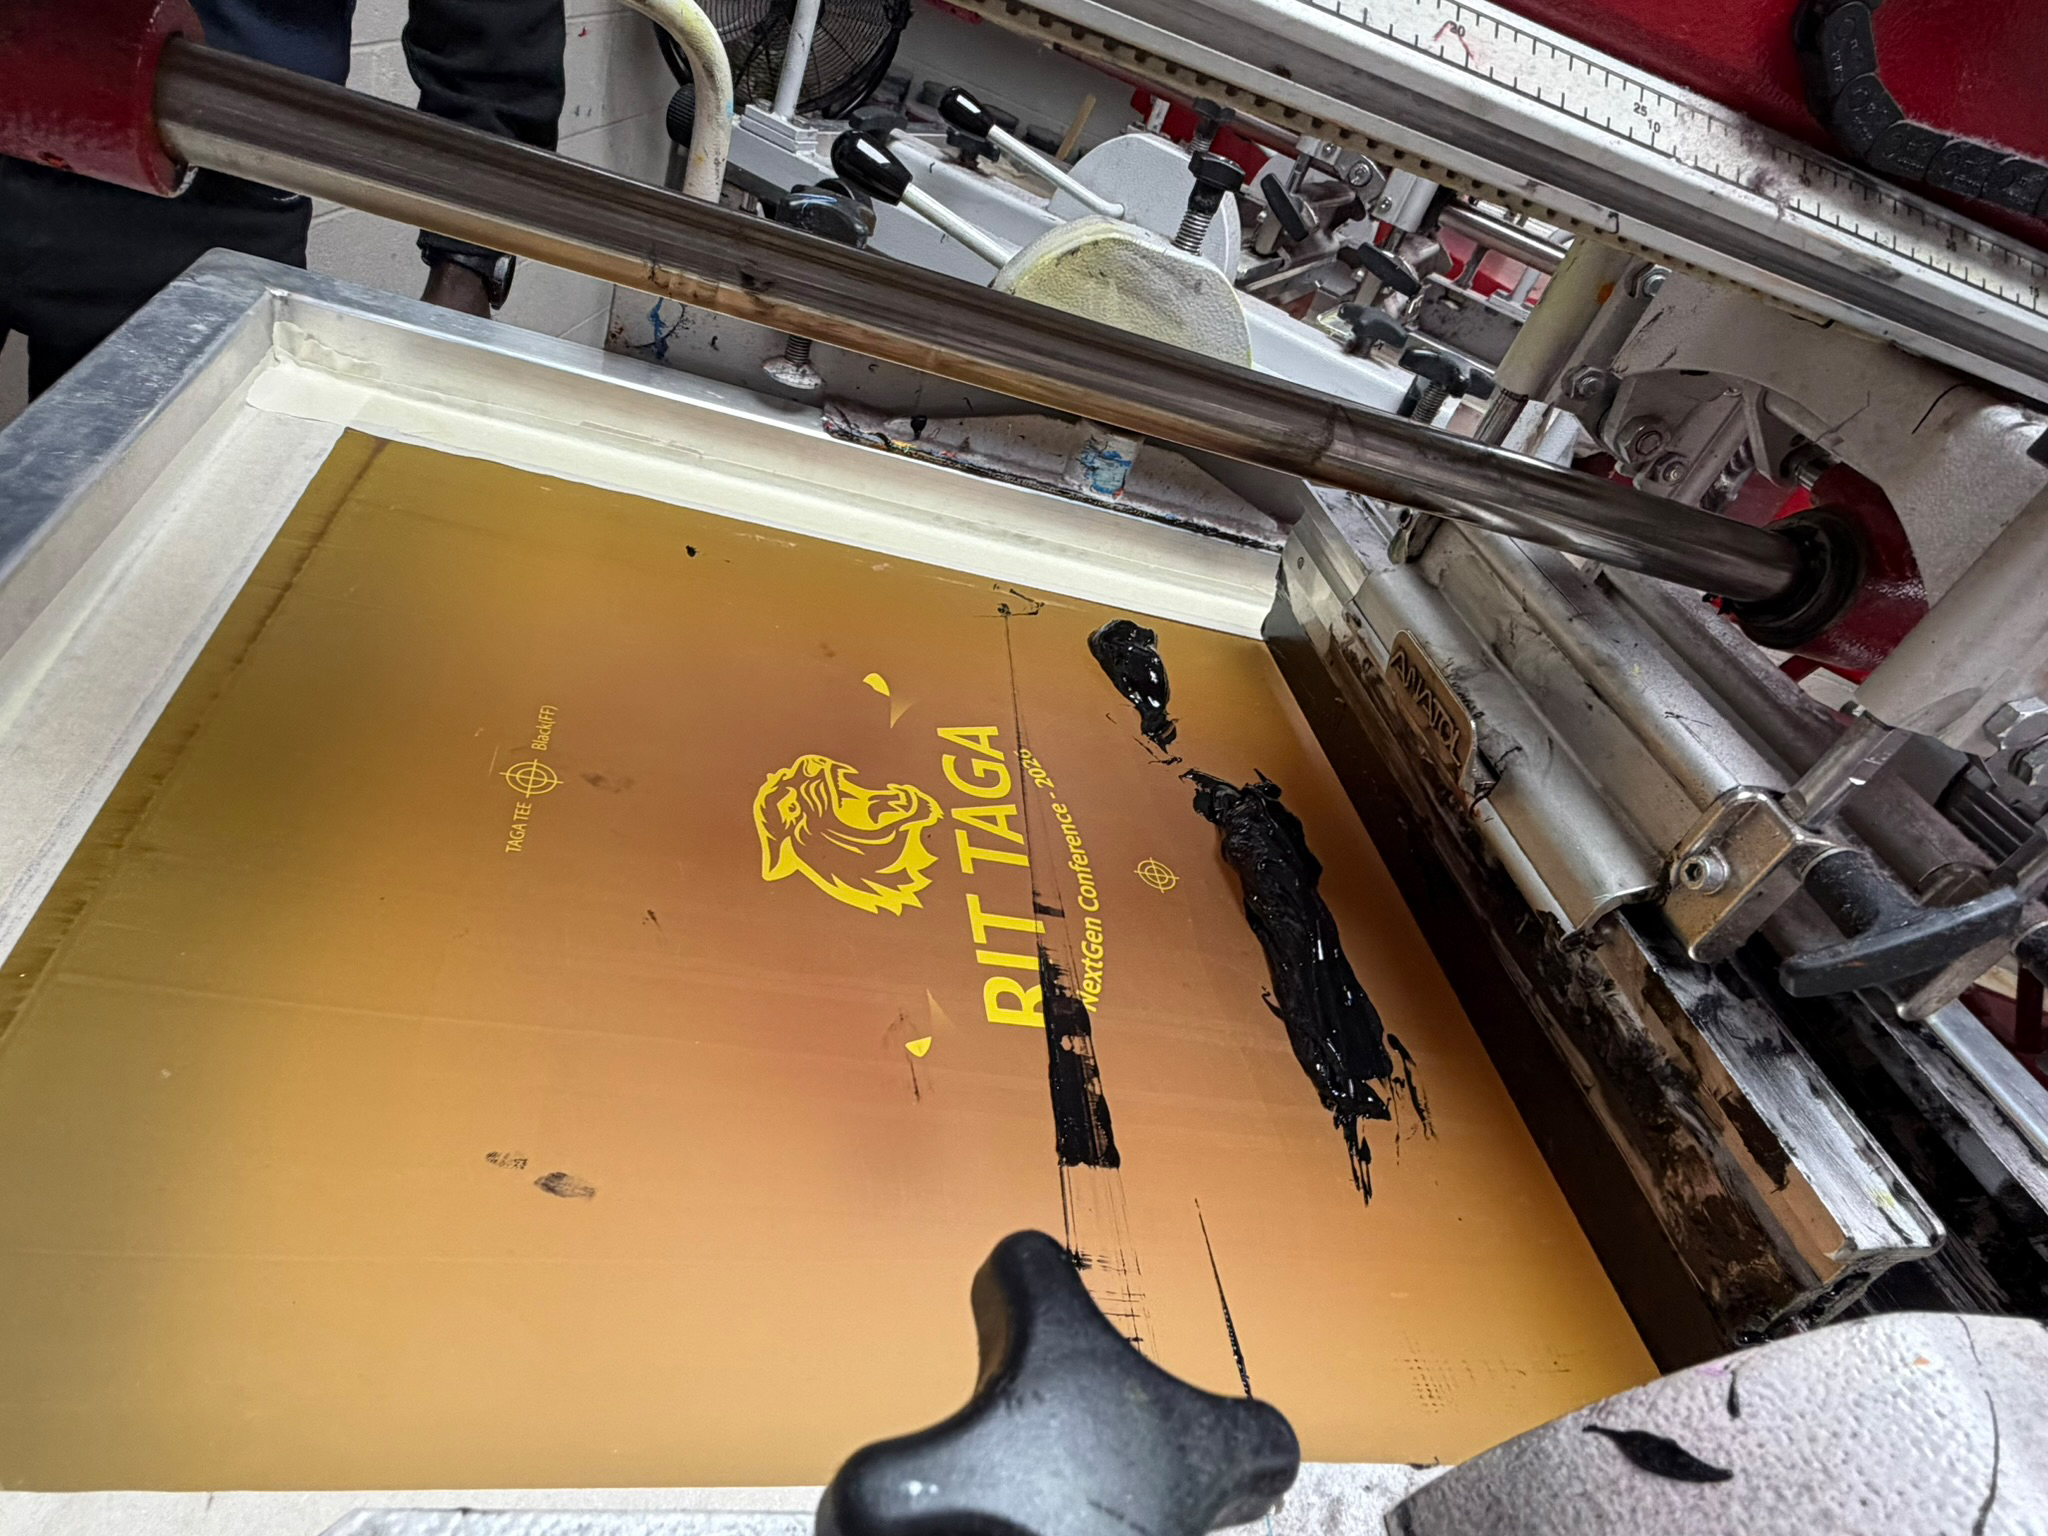
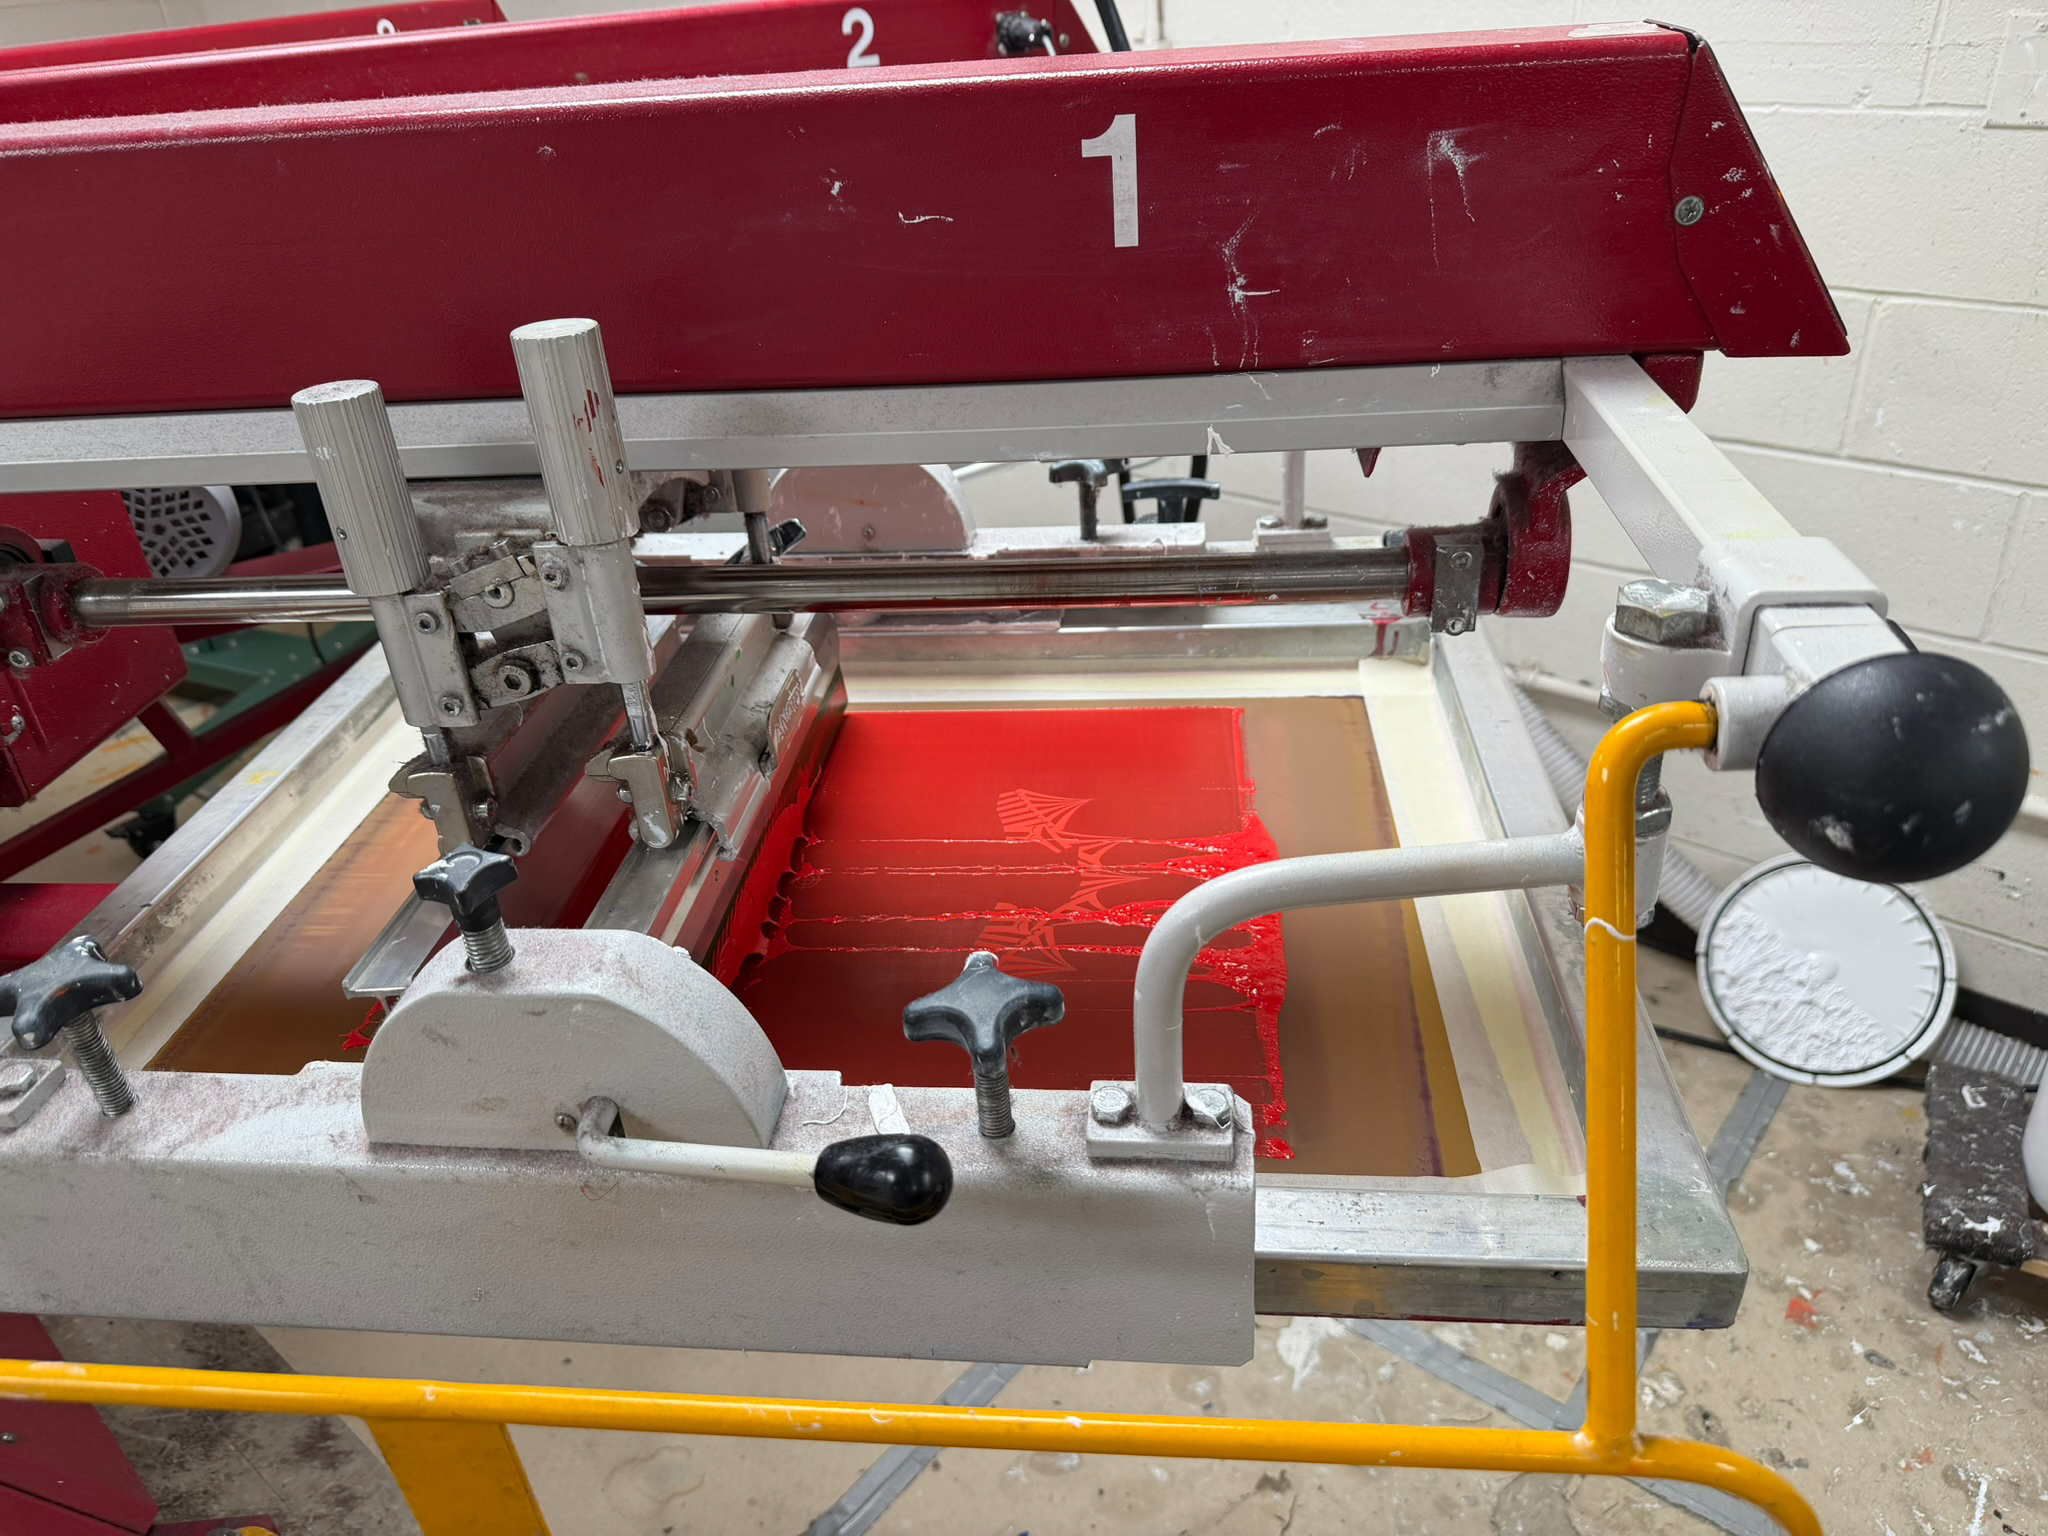
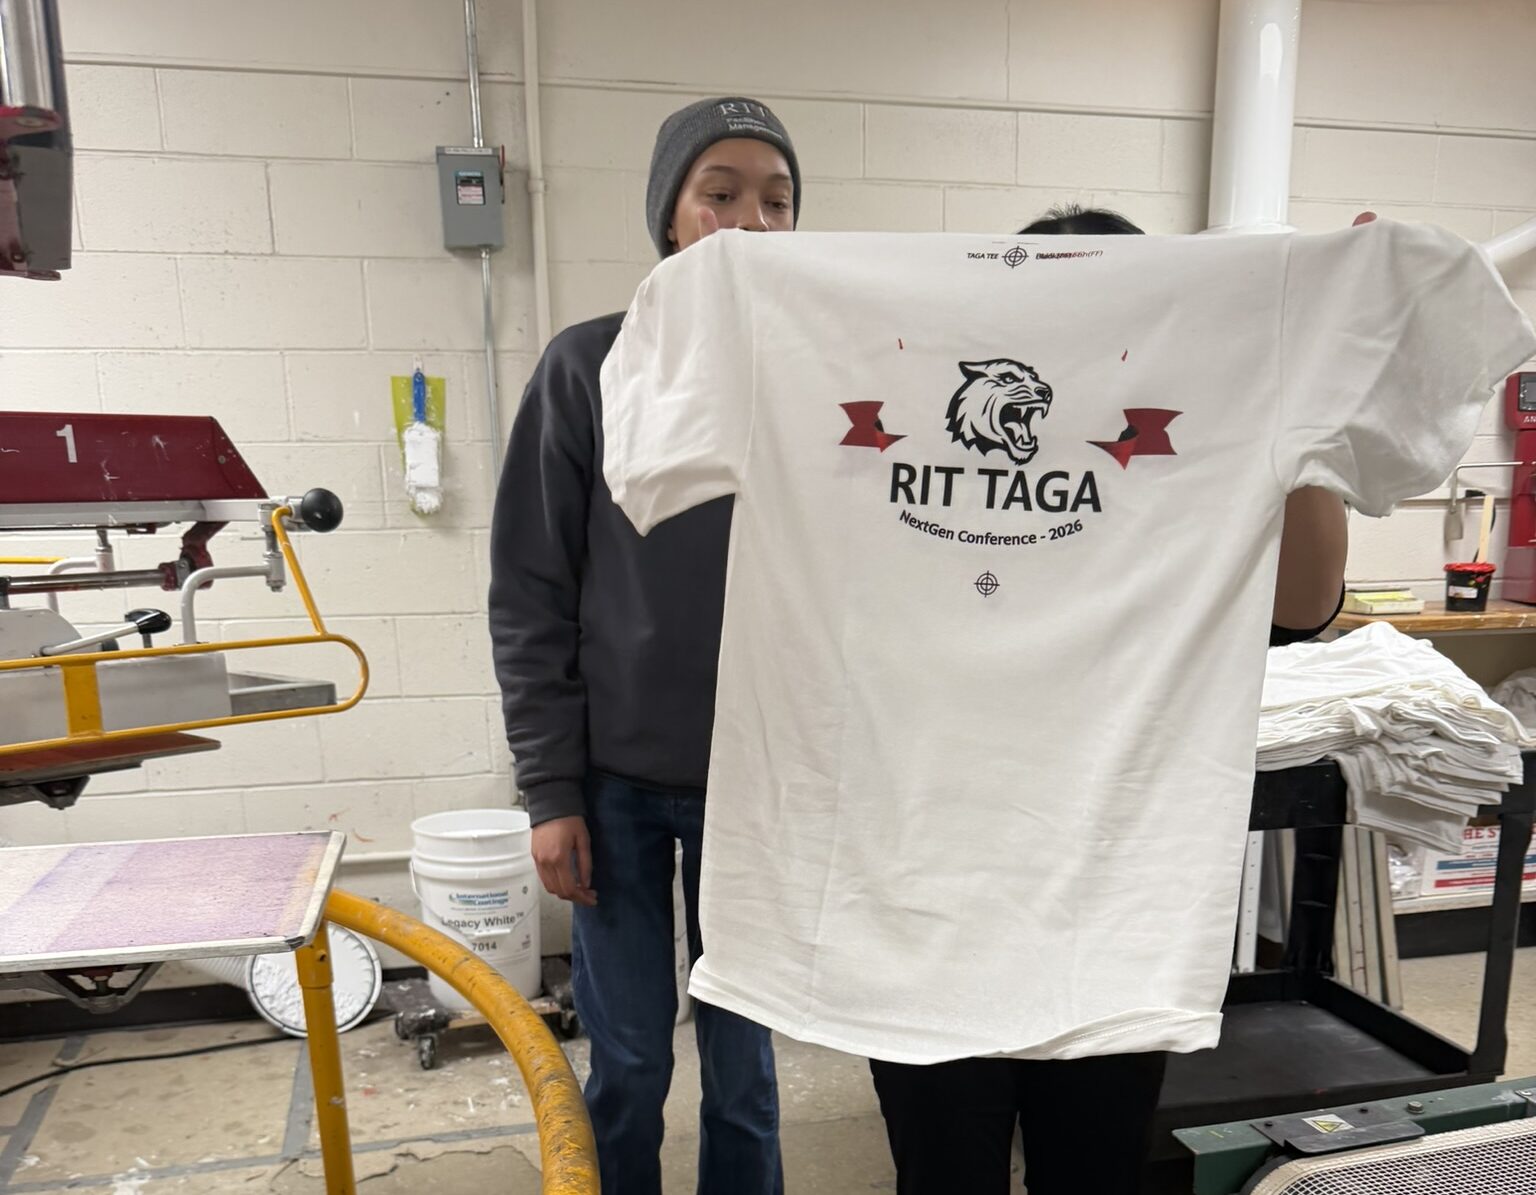
This year we prepared our logo of the circus Containing The RIT Tiger head on a white tshirt. The procedures are well illustarted below.

Step 1: Artwork Design & film output

Creation of the design and perform separation of each color. Then, printed each separation as a solid black image on transparent film to use as the stencil for screen exposure.

Step 2: Screen Selection & Preparation

We choose the correct mesh count for the design and ink type, then thoroughly degreasing the screen to remove oils and residue. Later, coated screen and then left to dry completely in a dark, dust‑free environment so it’s ready for exposure.

Step 3: Wash Out Screen After Exposure

Involves rinsing the exposed screen with water to remove the softened emulsion in the image areas. As the screen is washed, the design opens up clearly, leaving clean sections where ink will pass through during printing.

Step 4: Taping and Screen Setup

This step involves taping the edges of the screen to block any open mesh and prevent ink from leaking outside the image area

Step 5: Laying down the screen for black

Step 6: Laying down the screen for Red

Step 7: Running the print station

Step 8: Final print

Scroll to Top